Want to attract local customers? It’s time to start advertising on Google Maps!
In this helpful guide, we’ll be shedding light on this popular localised PPC advertising approach, showing you how to use it and how it could benefit your business.
Let’s jump straight in!
What is Google Maps Advertising?
Google Maps advertising was first introduced by Google back in 2013. The idea was to make advertising more relevant and contextual for users by integrating it seamlessly into the Google Maps experience.
When used alongside traditional Google ads, Google Maps ads can help you to improve your local targeting for location-based searches while enhancing visibility by expanding reach across different platforms and networks. This is what we’d refer to as an omnichannel approach.
Why is an omnichannel approach helpful?
By advertising in multiple places, you can connect with users at different stages of the customer journey, from initial research and consideration right through to purchasing. This significantly heightens your likelihood of driving conversions and solidifies your brand’s reputation as a credible authority in the market.
How to Spot a Google Maps Advert
If you’ve not previously used Google Maps to advertise your business, you might not be familiar with the different ad formats available and what they look like.
So, to help you spot a Google Maps ad, here’s what you should look out for:
- Promoted Pins: One of the later additions to Google Maps advertising, promoted pins appear as branded pins on the map view of Google Maps. These pins typically include a business’s logo or an icon that represents the business. When users click on a promoted pin, they may see additional information about the business, such as its name, address, phone number, and website.
- Sponsored Locations: Sponsored locations are businesses that appear prominently in search results or as highlighted markers on the map. These listings are often labelled as “Sponsored” or “Ad” to indicate that they are advertisements. They can also include additional information, such as reviews, photos, and a call-to-action button.
- Local Search Ads: A component of both Google Maps advertising and traditional Google Ads, local search ads appear at the top of relevant search results within Google Maps. These ads are similar in appearance to organic search results but are labelled with a small “Ad” icon to indicate that they are paid placements. They typically include the advertiser’s business name, location, and relevant information, such as reviews or special offers.
- Local Inventory Ads (LIAs): Local inventory ads are a go-to for retailers. LIAs showcase product inventory information to nearby shoppers who are actively searching for products on Google. These ads display real-time product availability, pricing, and store location directly within the Google Maps interface. You can easily identify them due to the presence of product images, prices, and a “Check Availability” or “In Stock Nearby” call-to-action button, which directs the user to the nearest store carrying the advertised product.
- Ad Cards: Lastly, we have ad cards. Ad cards are displayed at the bottom of the screen when users are navigating or searching for directions on Google Maps. These cards feature advertisements for nearby businesses or services that are relevant to the user’s current location or search query. Ad cards are labelled with the advertiser’s name and may include a brief description, along with options to call, get directions, or visit the website.
How Much Does it Cost to Advertise on Google Maps?
As we mentioned at the start, Google Maps ads use the PPC advertising model. And, when it comes to cost, the amount you pay can vary based on several factors, including your industry, competition, location targeting, and the quality of your ads.
Generally speaking, Cost-Per-Clicks for Google Maps ads tend to be lower compared to other advertising channels, but this can fluctuate depending on demand and other market dynamics.
Fortunately, as with all PPC advertising, Google gives you control over your budget, allowing you to set a daily spending limit that aligns with your advertising goals and budget constraints.
This flexibility means you can start small and scale up as you see results, giving you the freedom to experiment and optimise your campaigns over time!
Getting Started with Google Maps
Now you’re a bit more familiar with Google Maps ads, it’s time to get you set up.
Here’s what you’ll need to get started:
A Google Ads Account
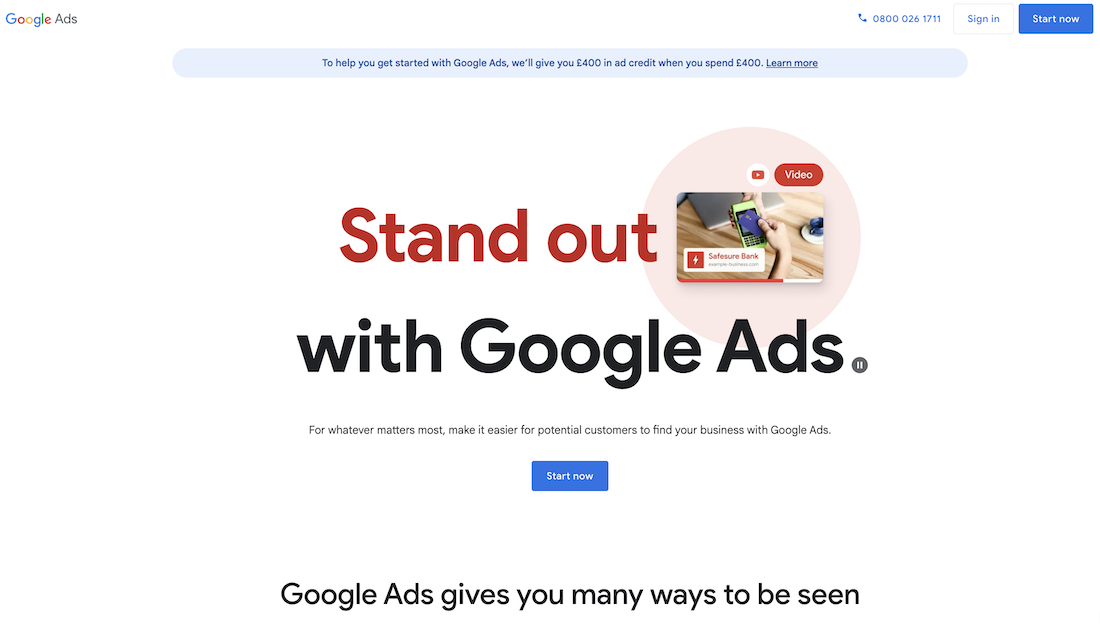
Before you do anything, you’ll need to have a Google Ads account. If you don’t already have one, you can sign up for free at ads.google.com.
Your Google Ads account acts as the home for all of your advertising campaigns, including those on Google Maps.
Need a hand getting started? Check out this Google Ads Sign-Up Guide.
A Google My Business Listing
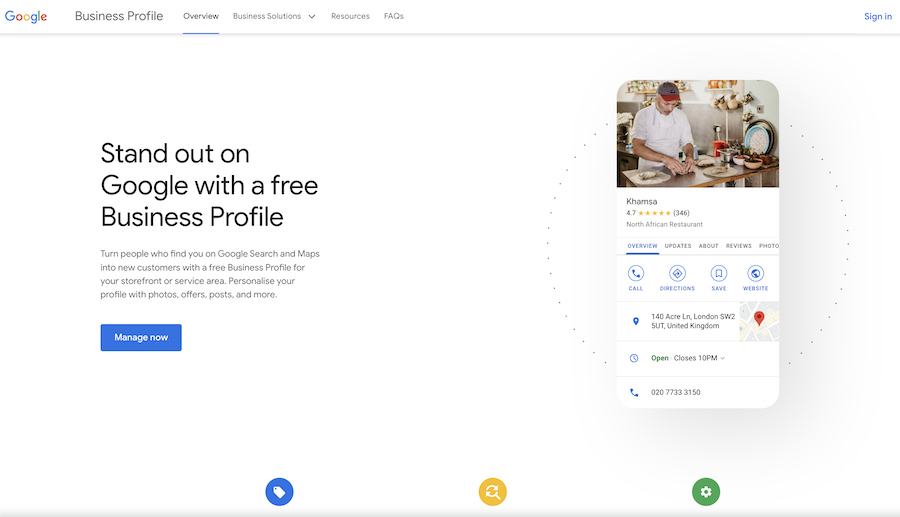
Having a Google My Business (GMB) profile is essential for running Google Maps ads.
Your GMB profile will provide important information such as your business name, address, phone number, website, and operating hours. This listing helps Google understand the relevance of your business to local searches and enables your business to appear on Google Maps.
If you’re creating a GMB profile or you happen to already have one, don’t forget to optimise it! With Google Maps advertising you’ll be putting your profile in the spotlight so you’ll want to add clear images, input detailed business information and take time to build great reviews. These are vital components that will build trust and attract new customers.
Need more guidance? Check out Google’s tips for adding or claiming a Google My Business profile.
Create Your First Ad Campaign for Google Maps
Once you’ve set up your ads account and your GMB profile is verified, you’re ready to start advertising!
You can follow these simple steps to get your first ads up and running.
(A word of warning: there are 15 in total – make sure you don’t skip any otherwise your ads might not work!)
- Sign in to Google Ads: Make sure to use a Google account that has administrative access to your Google Ads account.
- Create a New Campaign: Take your time to explore the different campaign types available and choose the one that best aligns with your advertising goals.
- Select Your Campaign Goal: Consider your primary objective — whether it’s driving foot traffic to your physical locations or boosting offline sales. Then select the best corresponding campaign goal.
- Choose a Campaign Type: Check out the different campaign types and ensure you’re selecting the one that most suits your business needs.
- Name Your Campaign: Use a name that will help you to easily identify the campaign later on. Include relevant details such as the campaign objective, targeted locations, or specific promotions.
- Locations: Navigate through the location targeting options to narrow down your audience and reach users who are most likely to visit your business locations. Always double-check this on the map to make sure you’ve selected the right area!
- Budget and Bidding: When it comes to spending, start with a conservative budget and bidding strategy, then adjust based on performance data as you gain insights into what works best for your campaign.
- Try Different Ad Extensions: Experiment with different extension types to enhance the visibility and relevance of your ads. Test various extensions such as callouts, structured snippets, or promotions to see which ones resonate most with your audience.
- Create Your Ad Group: Organise your ad groups in a way that makes sense for your business. Consider grouping ads based on product categories, geographic locations, or promotional offers.
- Name Your Ad Group: When labelling your ad groups, use descriptive names that clearly indicate the theme or focus of each group. Again, this will make it easier to manage and optimise your campaigns later on.
- Bid Monitoring: Monitor your bids regularly to ensure they’re competitive enough to win ad placements but not so high that they exceed your budget.
- Craft Your Ad Copy: Focus on crafting concise and compelling ad copy that highlights the unique value propositions of your business and encourages users to take action.
- Set Up Location Extensions: Add location extensions in the “extensions” tab of your campaign settings.
- Review and Launch: Double-check all campaign settings, ad groups, and ads to catch any errors or inconsistencies before launching your campaign. To avoid making any critical mistakes, ask someone else to take a second look before going live.
- Monitor and Optimise: Regularly review performance metrics and make data-driven adjustments to optimise your campaign for better results. Test different targeting options, ad creatives, and bidding strategies. It’s all about finding what works best for your business.
You’re All Set!
Now you’ve read our helpful guide, you have everything you need to boost your visibility and target local customers in your area.
But wait…
What if you’re not ready?
If you’ve read through these tips and feel a little out of your depth, fear not. We have a helpful beginner’s guide to getting started with PPC. In there, we take you right back to basics, running through what PPC is, how it works, and have even included a helpful glossary so that you can get to grips with some core PPC terminology!
Want to get the most out of your Google Ads campaigns?
There’s a Flexpert for that!
Our PPC strategists have years of experience managing and delivering successful campaigns across a whole range of different industries and platforms. If you’d like to enlist their help, get in touch using our simple contact form or book a call with our marketing manager Rich to discuss your business requirements.


